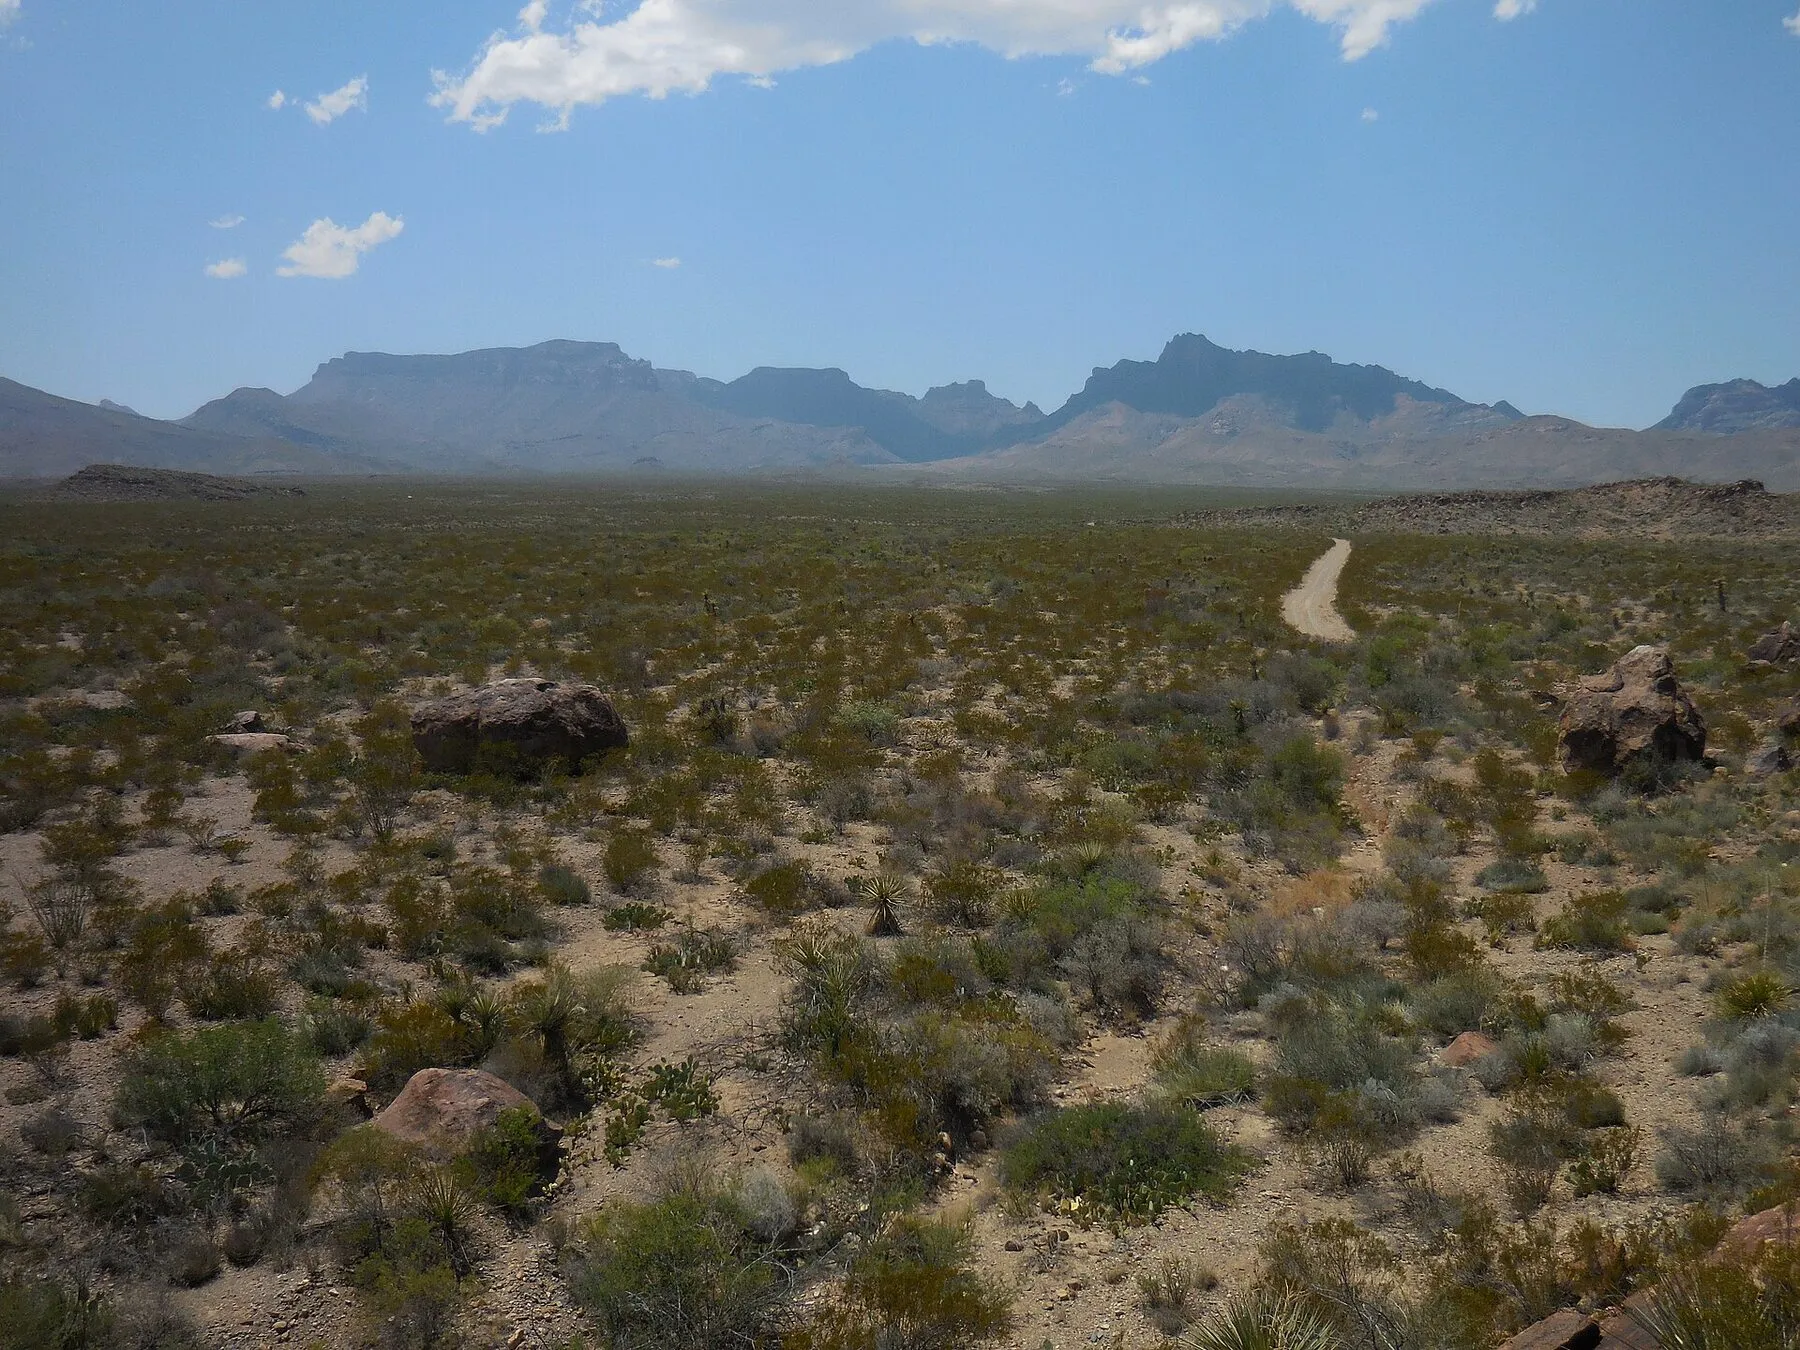
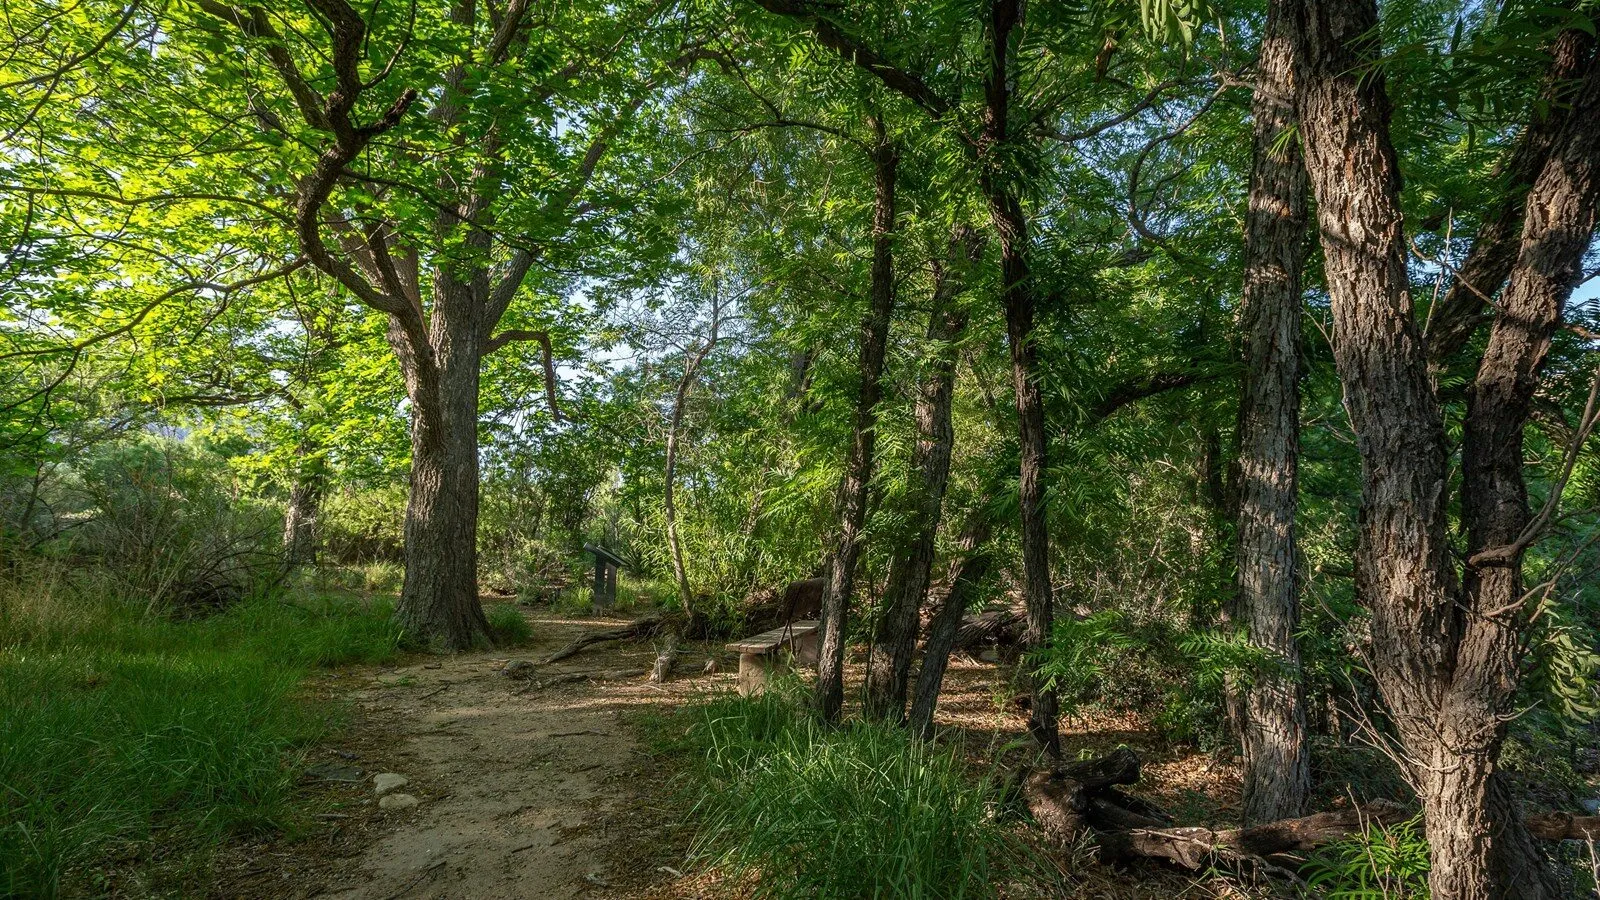
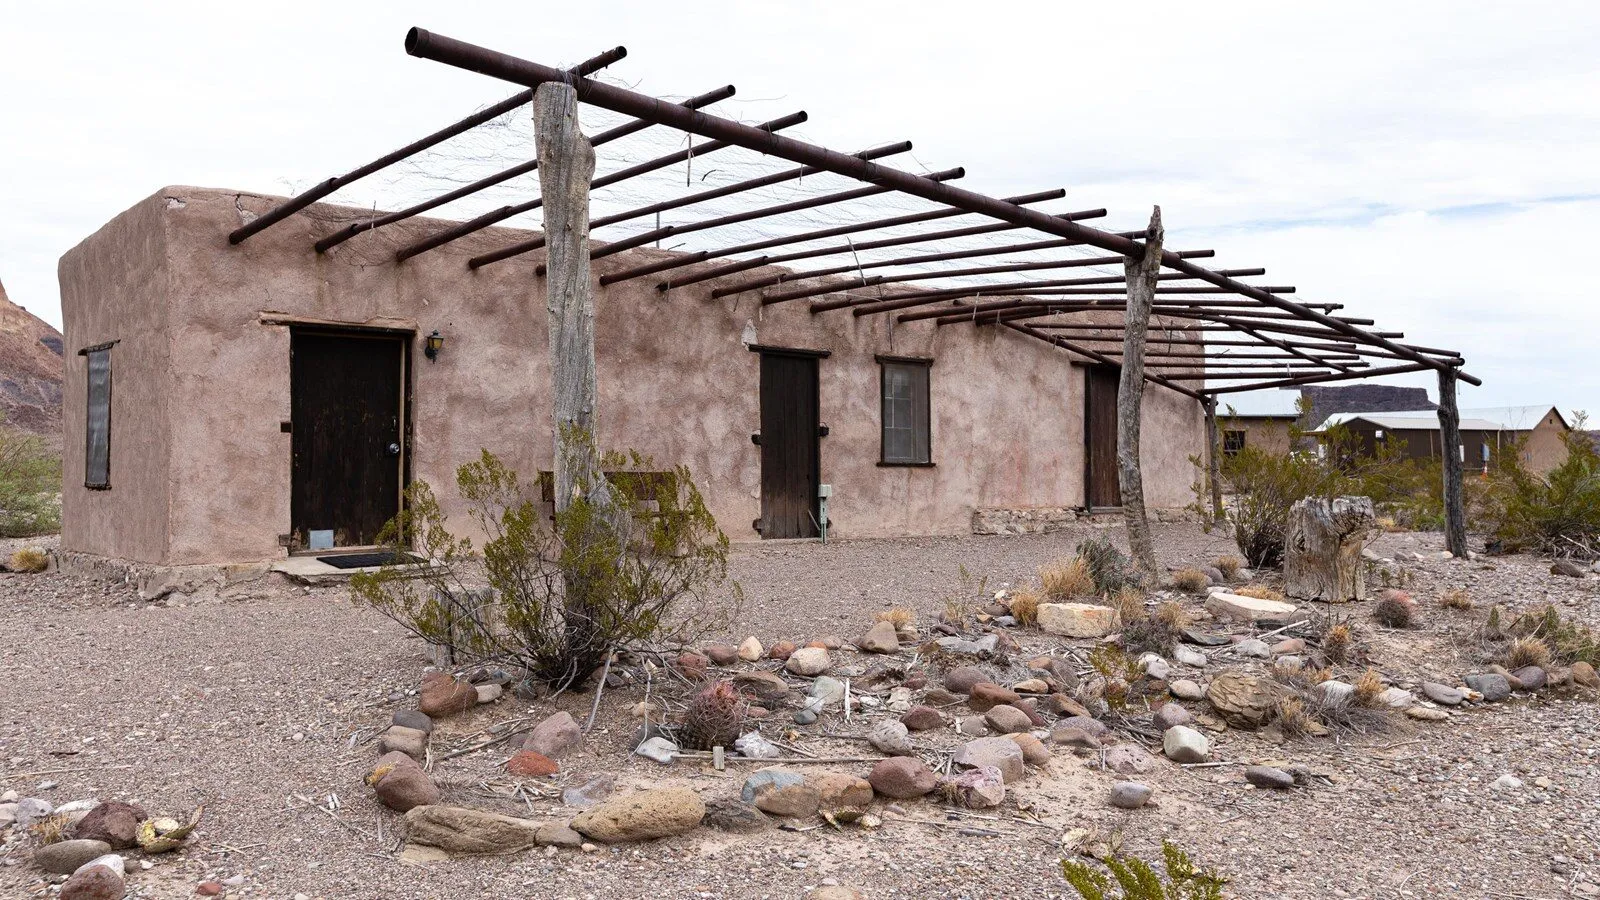
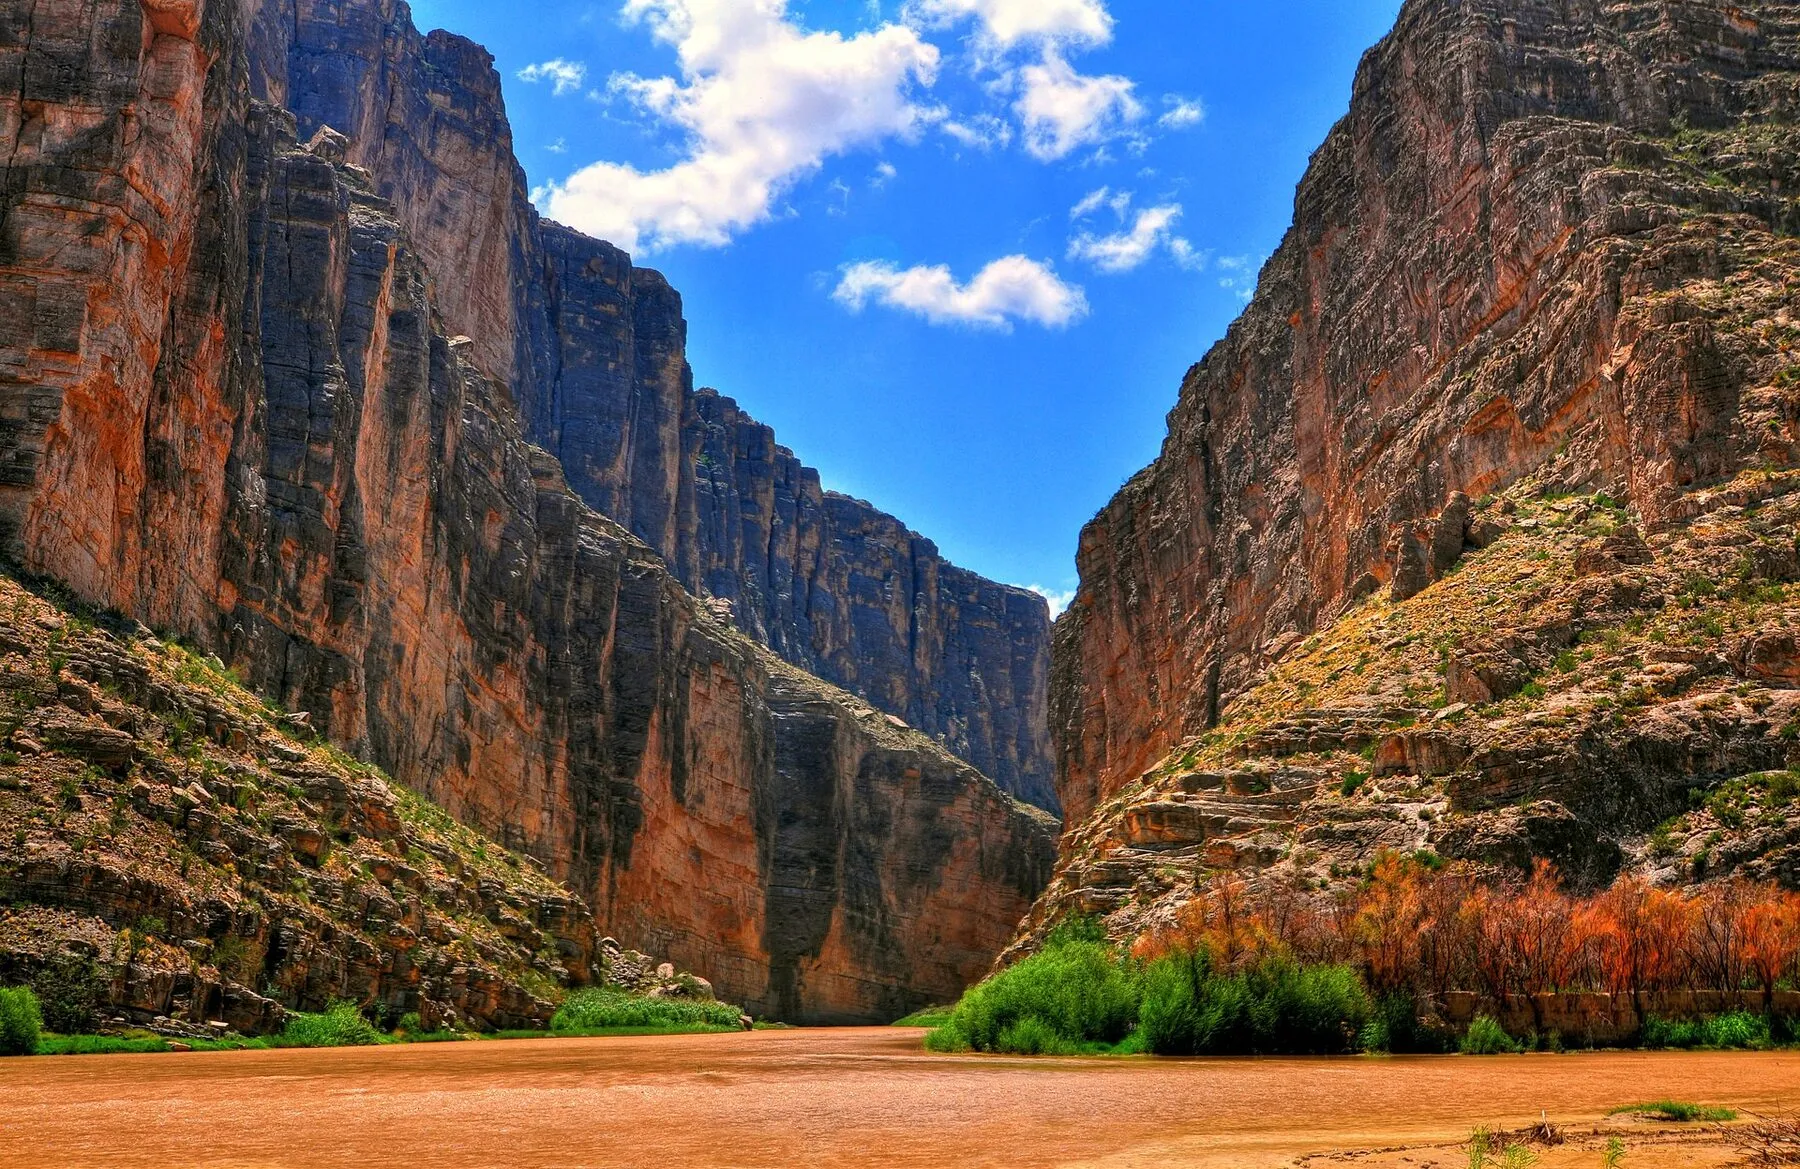
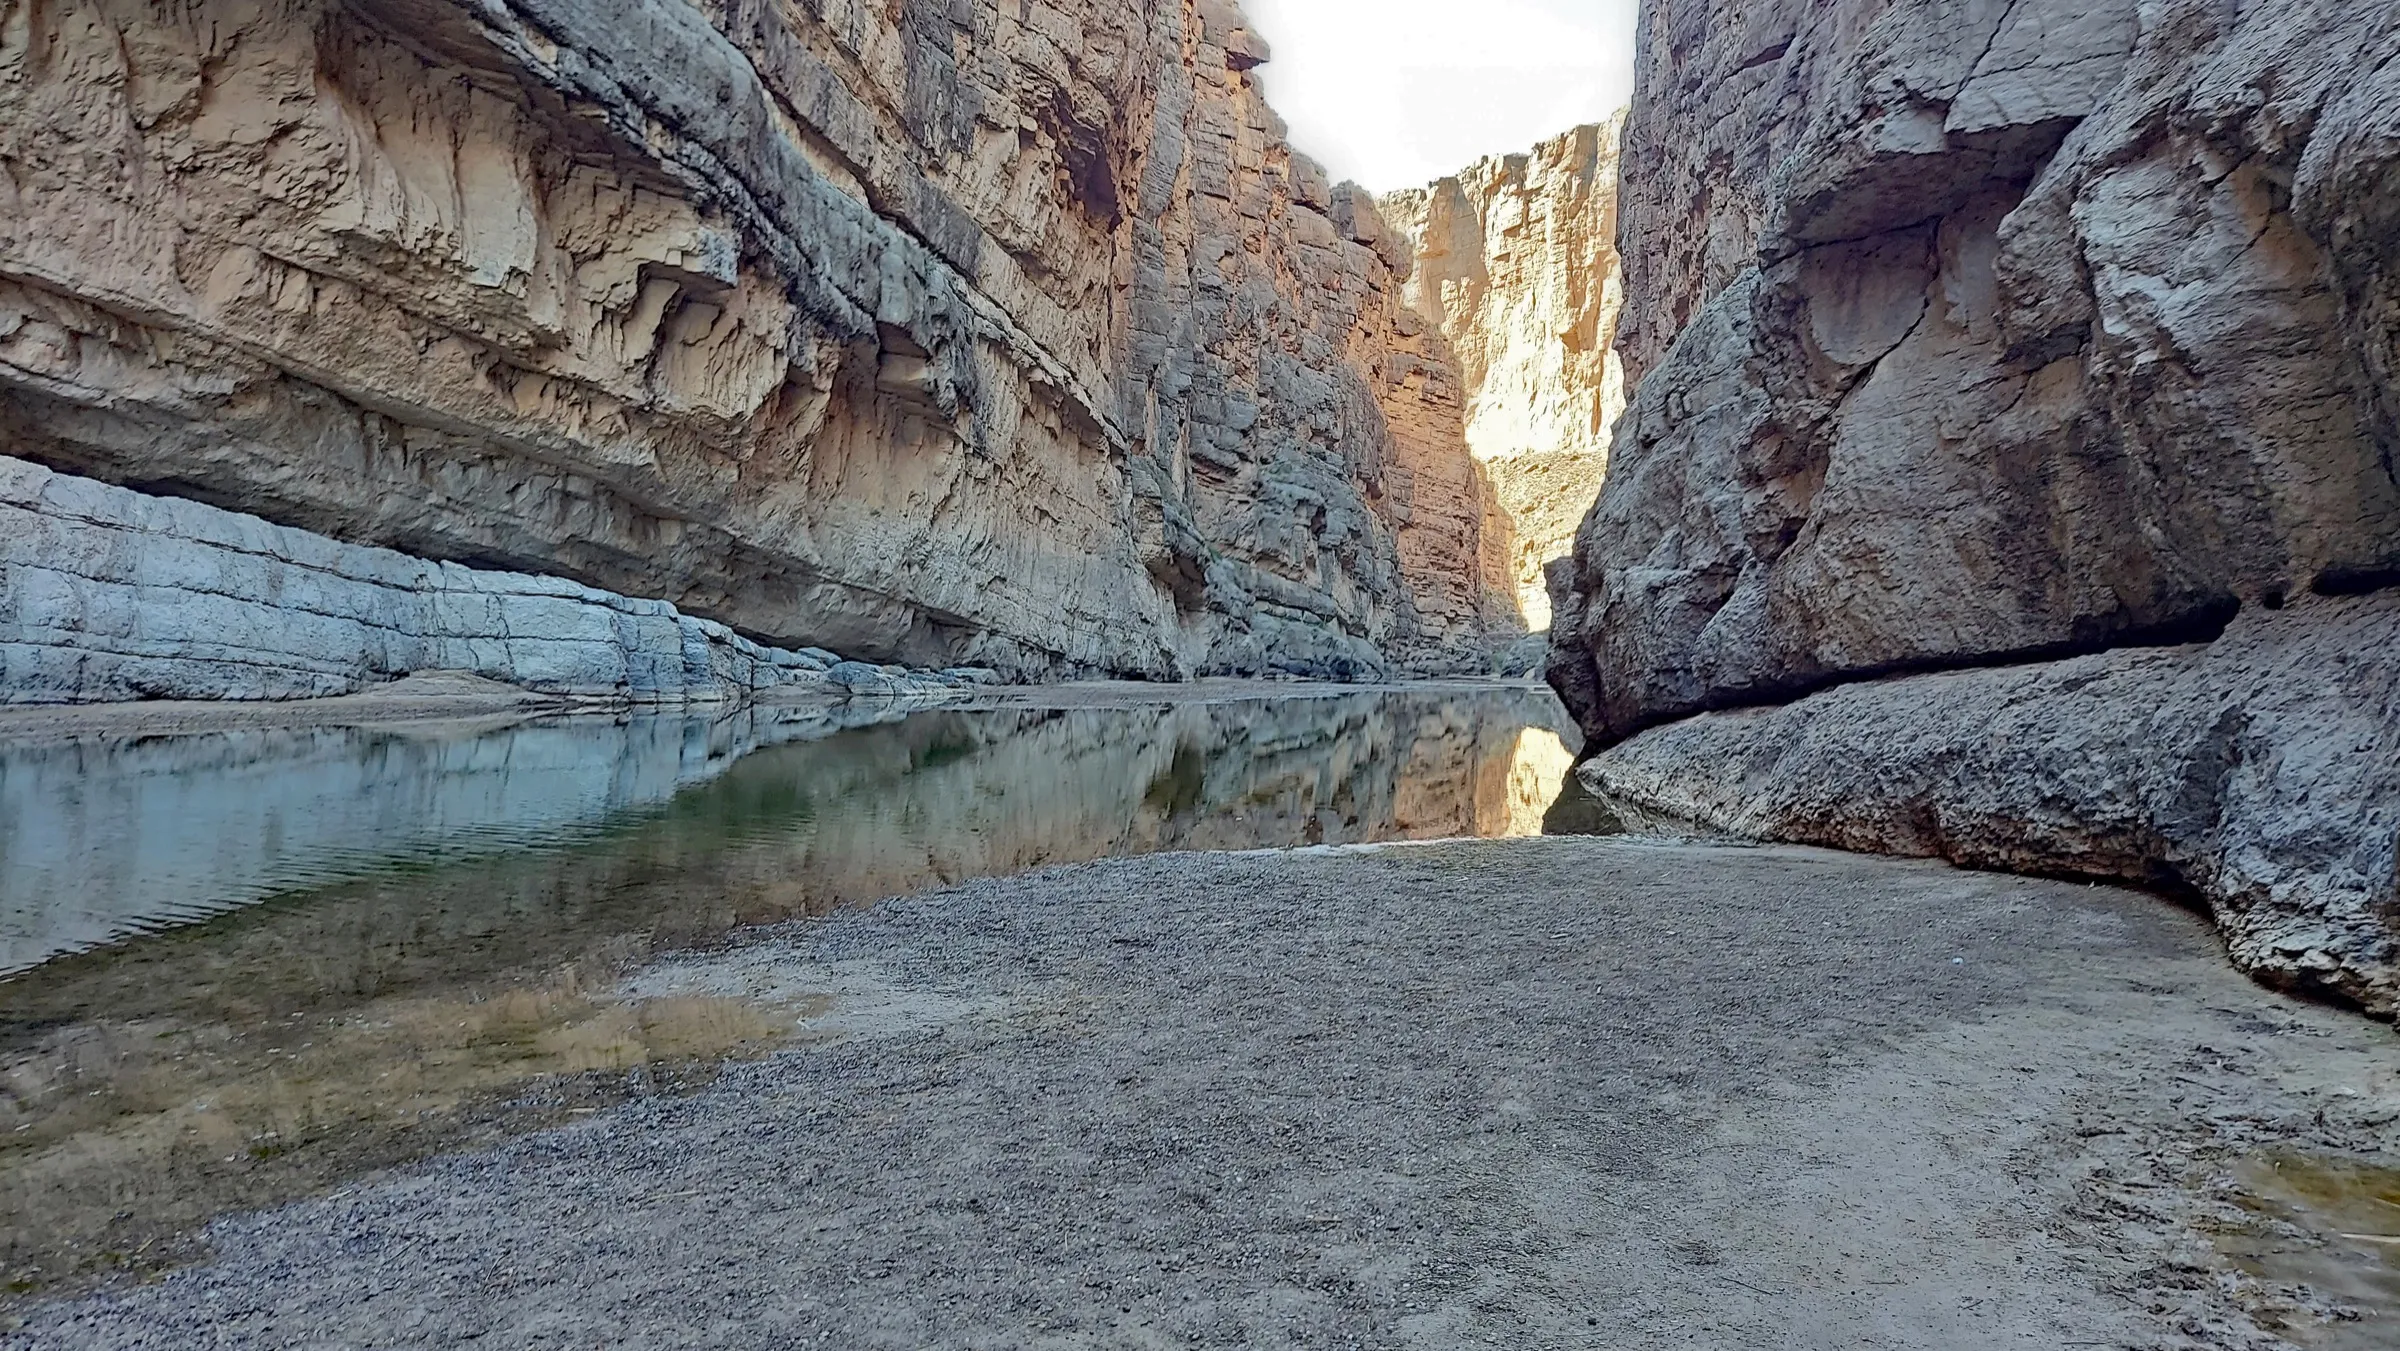
The best three-day Big Bend itinerary starts from Terlingua, moves to the Chisos Basin after Day 1, and leaves by the north gate after Day 3. Lost Mine Trail is the top stop because its half-day hike gives the best mountain views for the time spent.
Top pick
Lost Mine Trail: the best mix of mountain views and a half-day hike.
Best value
Fossil Discovery Exhibit: a free stop after park entry with shade, restrooms, and a short path.
Best sunset
Window View Trail: a paved 0.3-mile loop beside the Chisos base.
Best road check
Panther Junction Visitor Center: the place to ask about storm damage before any dirt-road plan.
This Big Bend itinerary groups each day by road. It starts from a Terlingua sleep base, follows Ross Maxwell Scenic Drive to Sam Nail Ranch, Castolon, and Santa Elena Canyon, then ends Day 1 at Panther Junction before entering the Chisos Basin. Day 2 stays in the mountains. Day 3 follows the river corridor before leaving by the north gate.
Santa Elena Canyon is back in the core route because the earlier paved-road closure language is no longer current. The trail still depends on a safe Terlingua Creek crossing, and the park’s current conditions page notes construction limits around the nearby riverbank and boat-launch area. Read the live alert before driving west and never force a creek crossing.
This full plan fits the cooler season best. In hot months, finish low-desert walks early, carry at least one gallon of water per person each day, and be willing to cut a stop. Use Terlingua for the arrival night, then book the Chisos Basin for the next two nights. The planned basin construction closure was canceled, so the road and sleep base remain open; check current lodging and campground availability separately.
At a Glance
The top of the ranking, side by side. Scroll sideways on a phone for price and rating.
Ten Big Bend route stops with day, editorial score, trail length, and current access note.
This itinerary weighs every stop against these factors:
1Route fit. Stops that reduce backtracking between the two sleep bases received more weight.
2Payoff. Scenic, historic, and educational payoff was compared with the time and work each stop takes.
3Heat load. Short walks, shade, and early time slots matter more in hot months.
4Current access. Roads, hours, trail alerts, and facility notices were checked against National Park Service pages on August 24, 2026.
The ten-stop sequence follows current paved-road access and official park guidance checked August 24, 2026. It is a desk-researched planning route, not first-person reporting; same-day conditions remain the final authority.
The 10 stops on this 3-day Big Bend itinerary, in order
Follow the route in order. Sleep in Terlingua before Day 1, then use the Chisos Basin for the next two nights.
1
No. 1: Sam Nail Ranch
Big Bend National Park★4.6(Editorial route score)★Price: Included with $30 vehicle pass
Start Day 1 with a quiet half-mile loop before the west-side road gets hot.
The short ranch loop passes ruins and a windmill that can draw birds to this patch of desert. C. A. Hoyt / National Park Service (Public domain)
This easy loop is the right first move. Leave Terlingua early and reach Ross Maxwell Scenic Drive before the day warms. The trailhead is 3.4 miles down the scenic drive, and the half-mile route takes about 30 minutes. Old walls mark the ranch landscape where the Nail family lived.
One windmill still pumps water. Sit by the brush for five quiet minutes and scan the trees. Morning gives you the best shot at buntings or towhees. The ranch also makes a soft start for kids before the long drive south.
Keep the stop short in warm months. There is little shade between the lot and the ruins. Pack water in the car before you leave Terlingua. Your next turn point is far down the same paved road, so this is no place to find that the jug is empty.
Keep trail shoes on for the next road stops. The route is short, but the official description notes rocky dirt, steps, and cactus near the path. Stay on the established trail and leave the historic walls untouched.
Best time: Use the coolest safe part of the morning for better bird activity and less heat.
How it scored
Route fit
4.9 out of 5
Payoff
4.3 out of 5
Heat load
4.4 out of 5
Current access
4.8 out of 5
Key facts
Day
1
Trail
0.5-mile loop
Trailhead
3.4 miles down Ross Maxwell Scenic Drive
Time here
30-45 minutes
Pros
Short first walk with a working windmill
Good bird activity in the cool morning
Easy stop on the west-side route
Cons
The ruins are modest compared with the day's canyon payoff
Rocky dirt, steps, and little shade limit accessibility
Big Bend National Park★4.4(Editorial route score)★Price: Included with $30 vehicle pass
Pause for west-side history before continuing on the paved road to Santa Elena Canyon.
Castolon's adobe buildings preserve layers of military, farming, and trading history along the west-side route. C. A. Hoyt / National Park Service (Public domain)
Make this the Day 1 history and lunch pause. The district includes buildings tied to military, farming, trading, and early park history, along with the La Harmonia store. Give the outdoor area about 30 minutes before continuing west.
The visitor center is seasonal and normally closes from May through October. The store is currently listed from 10 a.m. to 5 p.m., but remote services can change, so carry food and water rather than relying on a full meal here.
Continue on the paved road to Santa Elena Canyon. Check current conditions first: the hiking trail depends on crossing Terlingua Creek, and construction can limit access around the nearby riverbank and boat-launch area even when the trail remains open.
Use the picnic area for a simple meal, then keep enough water for the canyon approach and the return toward park headquarters. Services remain sparse across the full west-side drive.
Seasonal service: The Castolon Visitor Center normally closes May through October; do not mistake an open district for full ranger service.
Big Bend National Park★4.9(Editorial route score)★Price: Included with $30 vehicle pass
The 1.6-mile trail is the natural Day 1 payoff after the Castolon history stop.
The 1.6-mile trail enters the canyon only when the Terlingua Creek crossing is safe. R Hensley / Wikimedia Commons (CC BY 2.0)
The paved Ross Maxwell route ends at one of Big Bend’s clearest scenic payoffs. The official trail is 1.6 miles round trip with 80 feet of elevation gain. After crossing Terlingua Creek, it climbs briefly, then follows the Rio Grande beneath the canyon walls.
The creek crossing controls the visit. Rain upstream can make it muddy, deep, or unsafe even when the trailhead road is open. Read the current conditions page, assess the water from the bank, and turn back if the crossing is uncertain.
There is no trail reservation, but heat is a real limit on the exposed approach. Carry water, avoid the hottest hours, and stay out of construction-marked areas around the riverbank or boat launch. From here, retrace the paved scenic drive toward Panther Junction and the Chisos Basin.
Creek crossing: An open road does not guarantee a safe Terlingua Creek crossing; never force it.
How it scored
Route fit
5.0 out of 5
Payoff
5.0 out of 5
Heat load
3.6 out of 5
Current access
4.3 out of 5
Key facts
Day
1
Distance
1.6 miles round trip
Elevation gain
80 feet
Key condition
Terlingua Creek must be safe to cross
Reservation
None required
Pros
Short route reaches the Rio Grande between high canyon walls
Fits the paved Ross Maxwell sequence without backtracking
Big Bend National Park★4.7(Editorial route score)★Price: Included with $30 vehicle pass
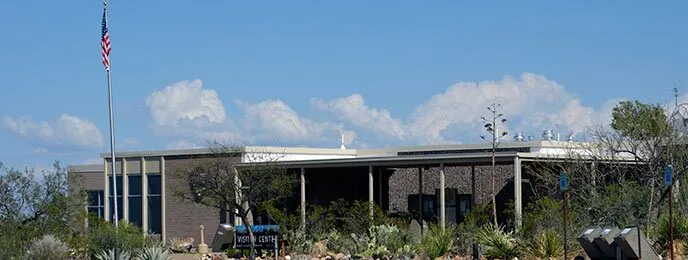
End the long Day 1 drive with live road news before you enter the Chisos Basin.
The park's year-round headquarters stop combines ranger information, permits, water, and exhibits. Cookie Ballou / National Park Service (Public domain)
This is the most useful service stop of Day 1. Panther Junction is currently open daily from 8:30 a.m. to 5 p.m. Arrive with enough time for current road and trail questions, permits if needed, and a paper map before entering the Chisos Basin.
Ask one clear question: which roads, creek crossings, and low-desert trails need a new plan today? A saved phone map cannot reflect every wash, construction zone, or heat alert. The ranger desk and current-conditions page should overrule an inherited itinerary.
Fill water here and top off the tank at the station just west of the center. Then drive into the Chisos Basin before dark. The road is steep and has tight turns. Large RVs over 24 feet and trailers over 20 feet should not use it.
If the desk has a line, walk the 50-yard paved plant loop out front. Numbered signs name common cactus and explain old uses. Ten minutes is enough. Then check in at the basin sleep base and keep the car parked for the night.
Best road check: Use the ranger desk, not an old route post, for same-day dirt-road news.
Big Bend National Park★4.9(Editorial route score)★Price: Included with $30 vehicle pass
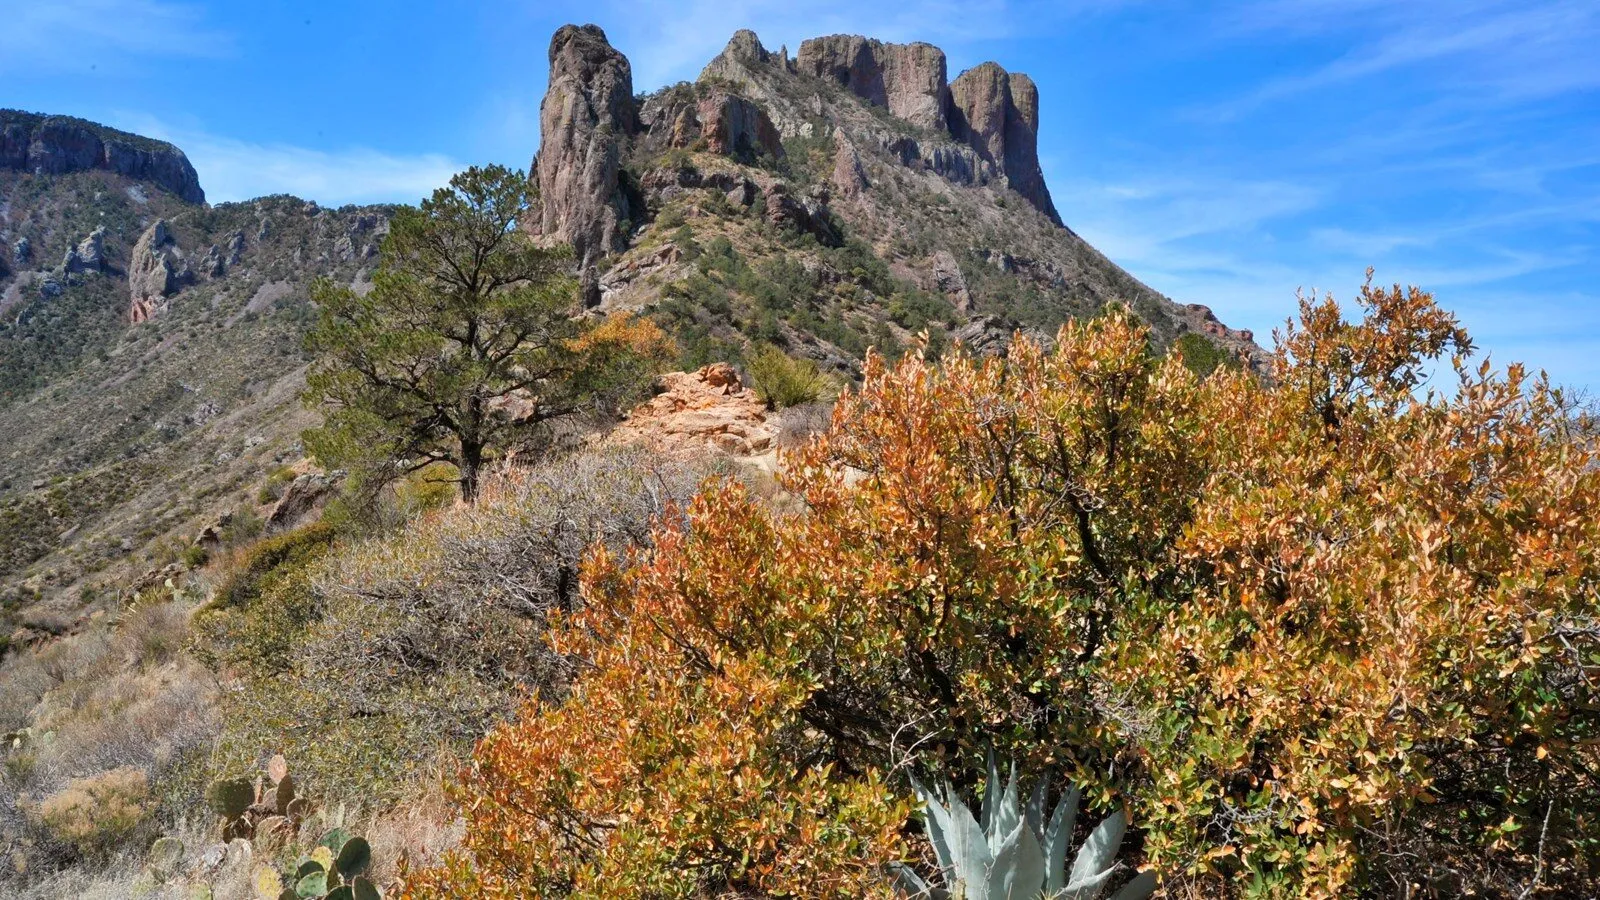
Day 2 starts here because the tiny lot and rising heat both punish a late start.
The 4.8-mile mountain route opens to Chisos views after a steady climb through pine and oak. M. Schuler / National Park Service (Public domain)
Start Day 2 at dawn or the earliest safe light. The official trailhead has very limited parking, and the path runs 4.8 miles round trip. Plan several hours and use current weather, heat, and daylight to set the turnaround.
The first mile climbs to a saddle with views of Casa Grande and Juniper Canyon. That saddle is a fair turn point for a family or a tired hiker. The full route keeps going through pine and oak, then reaches the ridge above Pine Canyon.
Bring more water than the cool air seems to ask for. The return still has sun and loose rock. If the lot is full, do not park on plants or block the road. Go back to the basin, take a shorter loop, and try again at dawn the next day.
Set a noon turn time even in cool months. A slow climb can turn a three-hour hike into five. Tell one person at camp when you plan to return. Cell service can fade on the trail, and the small lot has no ranger desk.
Parking rule: Reach the lot before 7a or use a shorter basin trail instead.
How it scored
Route fit
4.9 out of 5
Payoff
5.0 out of 5
Heat load
4.2 out of 5
Current access
4.9 out of 5
Key facts
Day
2
Distance
4.8 miles round trip
Difficulty
Moderate
Trailhead
Basin Road mile 5.1
Start
At dawn or the earliest safe light
Pros
Big views arrive before a full-day hike would end
One-mile saddle gives a shorter turn option
Pine and oak add some shade
Cons
Trailhead parking is very limited
The last climb is steep and the return still takes time
Big Bend National Park★4.7(Editorial route score)★Price: Included with $30 vehicle pass
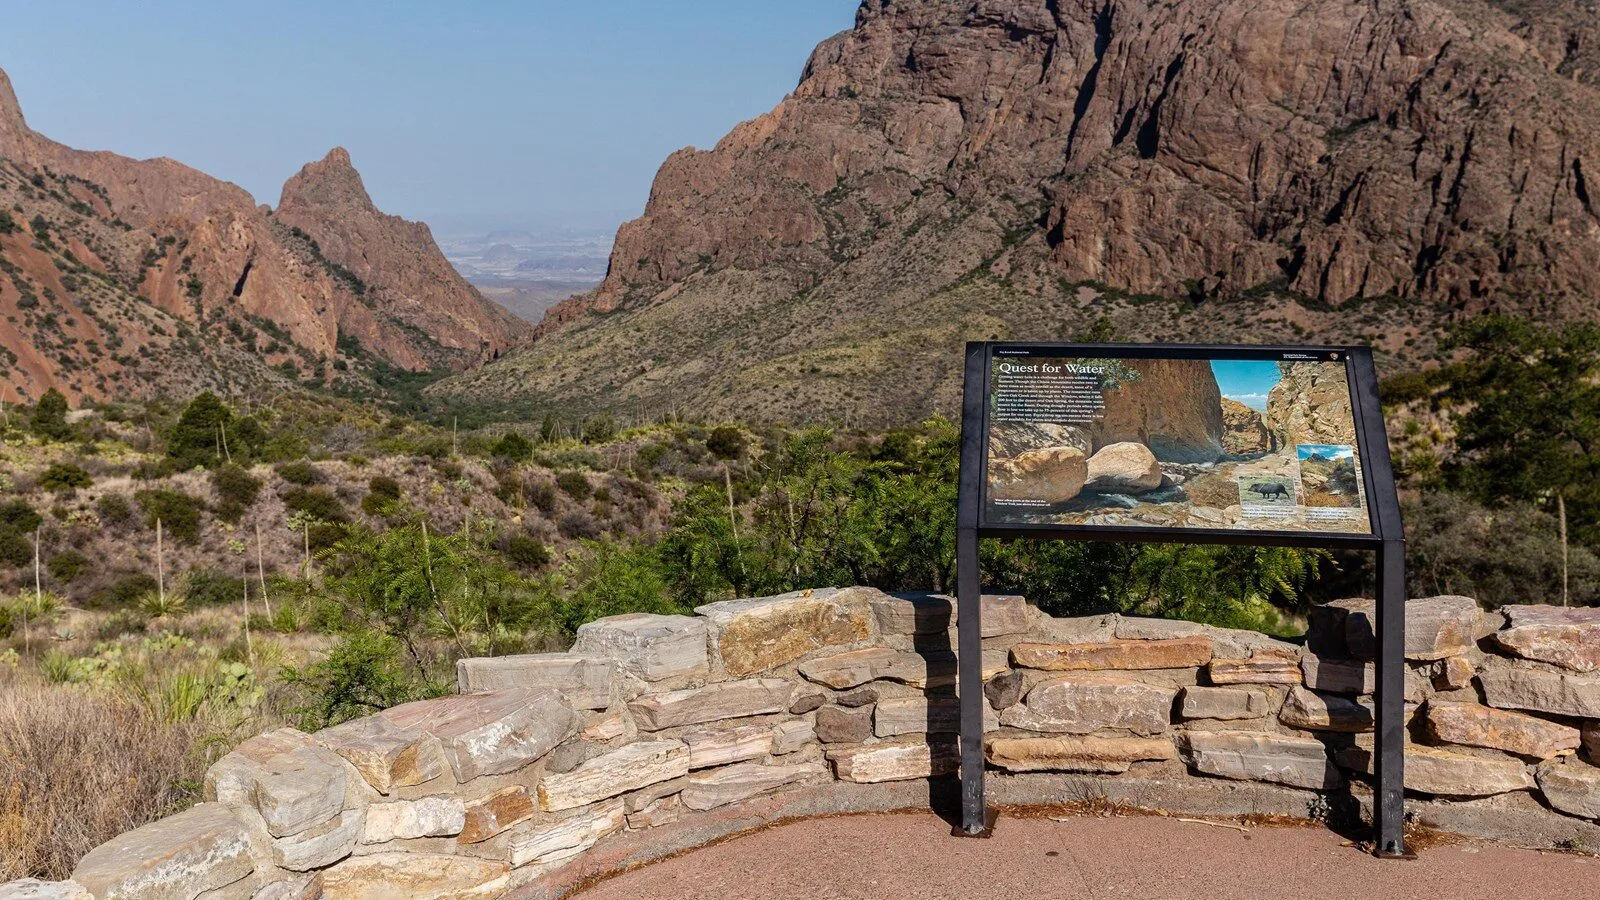
Close Day 2 with a short paved loop, then walk back to your room or camp.
The paved 0.3-mile Window View loop keeps the final light close to the Chisos sleep base. C. A. Hoyt / National Park Service (Public domain)
End Day 2 with the easy choice. The paved loop is only 0.3 mile. It starts by the basin trailhead and has benches along the way. Arrive 30 minutes before sunset so you can find a seat without a rush.
This is a view walk, not the longer canyon hike with a like name. The full canyon path is 5.6 miles and climbs on the return. Save that work for a four-day trip. After the morning ridge, a short loop is enough.
Stay a few minutes after the sun drops, then use a light on the walk back. Cars and deer move through the same small area at dusk. Because the room or camp sits close by, you avoid a long dark drive on the basin road.
Clouds can hide the last light, yet the loop still works before dinner. Wind picks up fast near the gap. Carry one warm layer even after a hot day. The paved path is easy, but the air can cool in less than 20 minutes.
Best sunset: Take a bench early, then walk back to the Chisos sleep base.
Big Bend National Park★4.6(Editorial route score)★Price: Included with $30 vehicle pass
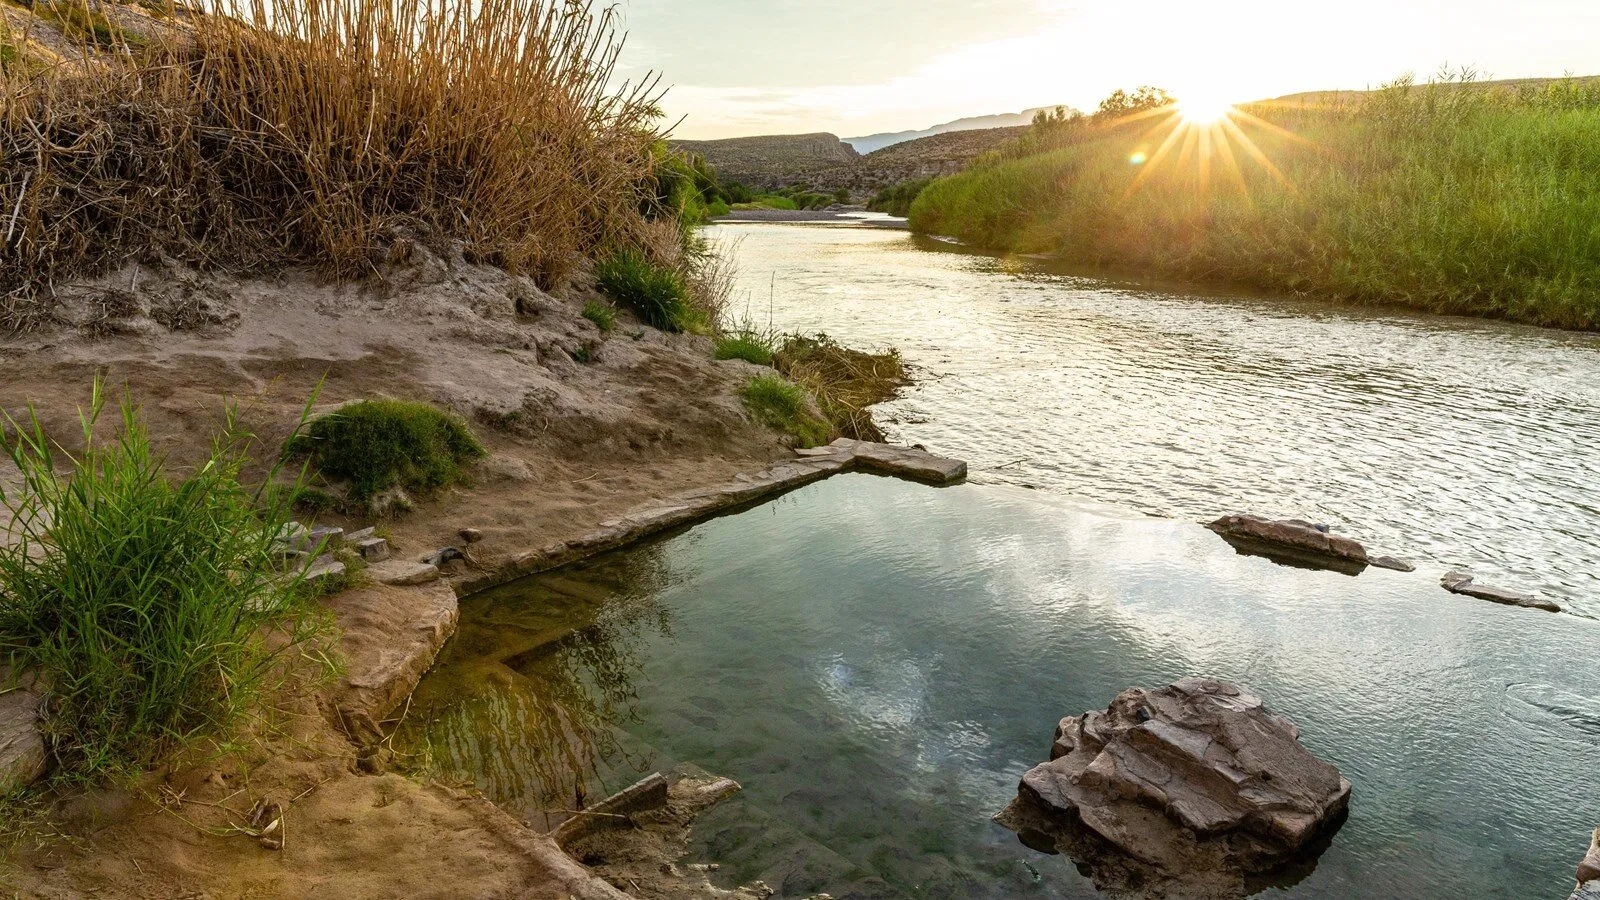
Start Day 3 at dawn, before the east-side heat turns a short walk into hard work.
Historic resort ruins and the 105-degree spring sit beside the Rio Grande at the end of a rough, narrow access road. C. A. Hoyt / National Park Service (Public domain)
Leave the basin at first light on Day 3. The spring walk is only half a mile round trip, but the low river zone heats fast. In hot months, finish early and skip the 105-degree soak when conditions make it unwise.
The final 2 miles use rough, narrow gravel. Large rigs cannot use the one-way parts. Park in the set lot, then walk past old resort walls and rock art. Do not take food, glass, soap, or oil into the spring.
Floods can cover the pool with mud or river water. Check the live park alert before you leave the basin. If the spring is under water, walk only as far as the old post office. Then leave for the next canyon before the heat builds.
Soak for a short spell and keep your head above water. The river beside the pool has deep holes and strong flow. The park does not advise a swim. Dry feet well before the sandy walk back, since wet grit can cause blisters.
Heat limit: In hot months, finish the river walk early and skip the soak when temperatures climb.
How it scored
Route fit
4.8 out of 5
Payoff
4.7 out of 5
Heat load
3.8 out of 5
Current access
4.4 out of 5
Key facts
Day
3
Spring walk
0.5 mile round trip
Full loop
1 mile
Water
105 degrees F
Access road
2 miles, rough and narrow gravel
Pros
Short walk links river views with old ruins
Early start fits the east-side route
Full loop adds a bluff view
Cons
Motor homes and large vehicles cannot use one-way road parts
Big Bend National Park★4.8(Editorial route score)★Price: Included with $30 vehicle pass
Keep this walk in the cool morning, then choose the trail or a border visit based on time.
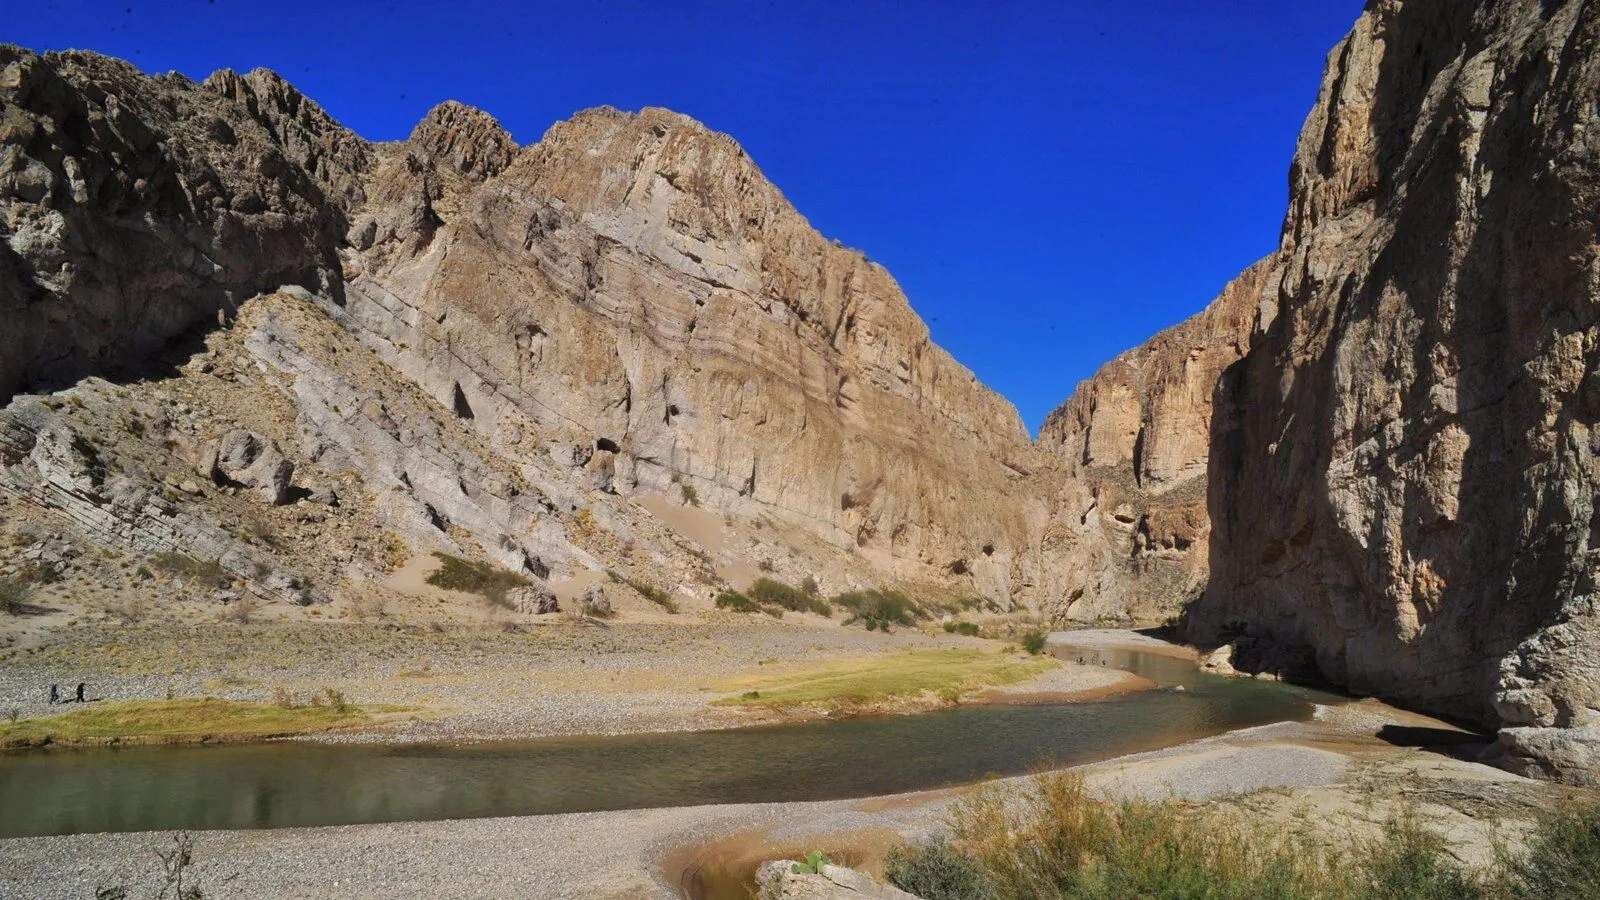
A sandy 1.4-mile trail climbs above the river before dropping toward the canyon wall. M. Schuler / National Park Service (Public domain)
Choose the 1.4-mile trail first if the day is warm. It climbs a sandy hill, looks down on the Rio Grande, then drops to the bank. The far point sits where the canyon walls meet the water. Allow 60 to 90 minutes.
The border port is close, but it is a separate plan. Current posted hours are Friday through Monday from 9 a.m. to 4 p.m., and a valid passport book or passport card is required for the crossing. Check the port page and same-day alerts before building an international side trip into this route.
Do the trail or the town if heat or time is tight. Trying both can push the next walk into the hot part of the day. A family with kids may get more rest from lunch in town. A hiker may want the canyon path and a quick car meal.
If you cross, allow enough time to complete the return process well before the 4 p.m. close. Border logistics can consume the hours reserved for the nature trail and northbound exit, so dropping one park stop may be the better plan.
Pick one: In warm weather, choose the canyon trail or the Mexico visit, not both.
How it scored
Route fit
4.8 out of 5
Payoff
4.8 out of 5
Heat load
3.7 out of 5
Current access
4.8 out of 5
Key facts
Day
3
Distance
1.4 miles round trip
Difficulty
Moderate
Border port
Fri-Mon, 9a-4p
Passport
Needed only for Mexico
Pros
Short path reaches the river and canyon wall
Cliff top gives a wide border view
Border port is close for a planned side trip
Cons
The sandy climb has little shade
A Mexico visit can take two hours from the trail plan
Big Bend National Park★4.6(Editorial route score)★Price: Included with $30 vehicle pass
Use this easy loop as the last east-side walk before the route turns north.
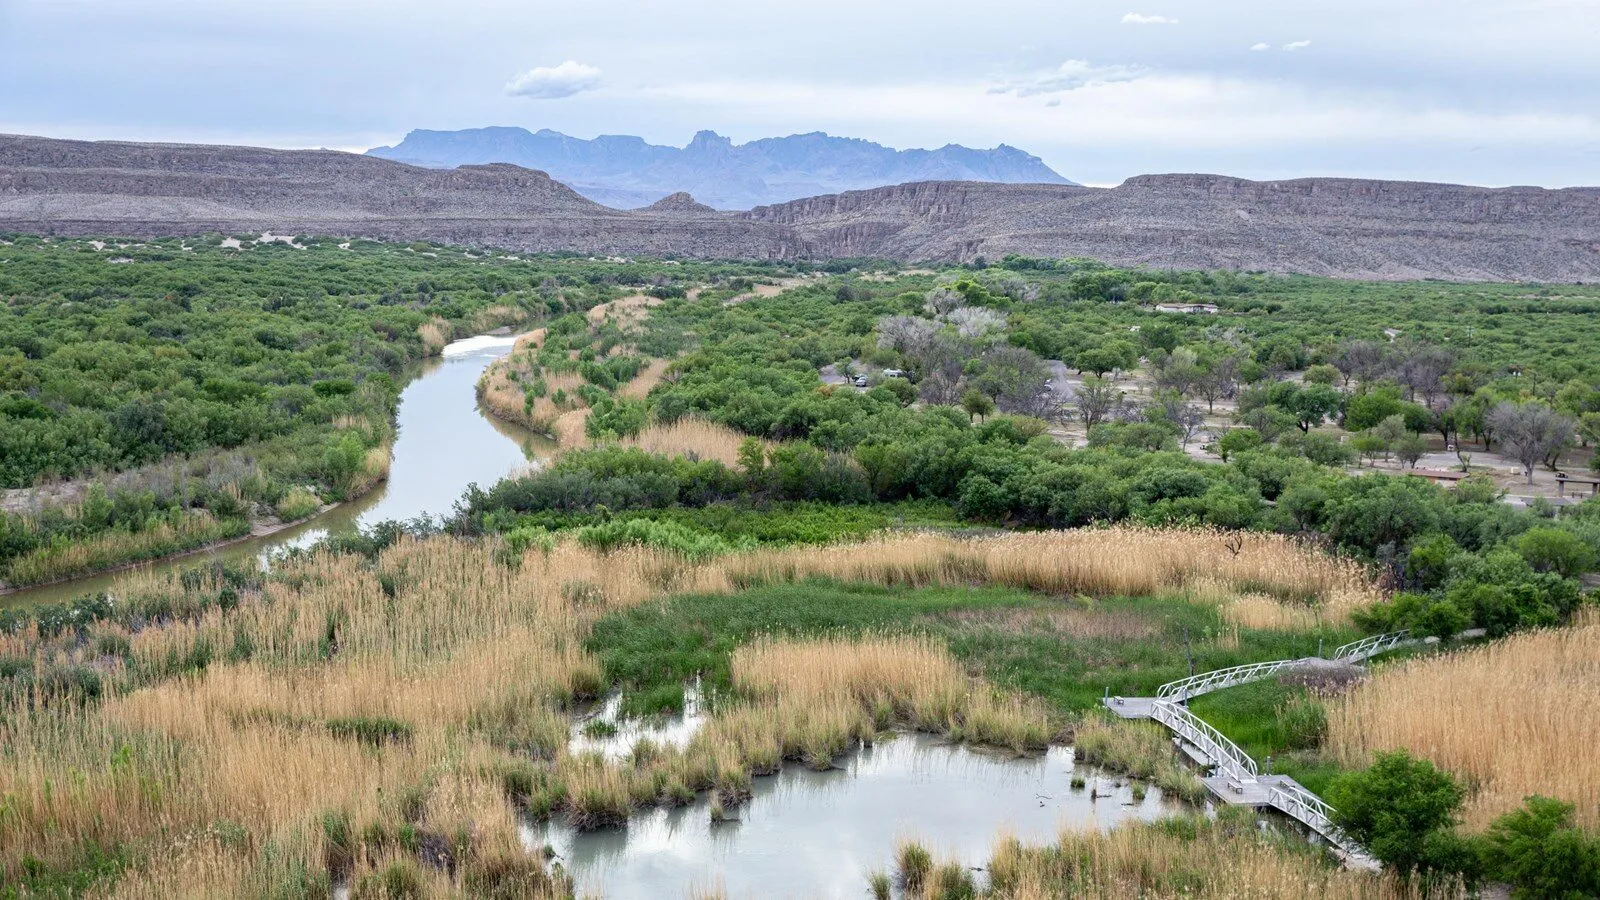
The first accessible stretch crosses a spring-fed wetland before the trail climbs a low hill. C. A. Hoyt / National Park Service (Public domain)
Make this the last east-side walk. The loop runs 0.75 mile from campground site 18. Its first 100 yards use a boardwalk that fits a wheelchair. The path then climbs a low stone hill with views of the river and both mountain ranges.
Birds give the short path its edge. Herons and kingfishers use the wetland. Doves and flycatchers move through the trees. Give the loop one hour if you stop to watch. Carry field glasses in the day bag, not in a case buried under food.
Skip the hill if the air is too hot. The boardwalk still gives a good look at the wetland with less sun. From here, turn north toward Panther Junction and the final exhibit rather than adding another low-desert detour.
Do not rely on mobile service for the exit route. Keep a paper or downloaded park map ready, then follow the paved road toward Panther Junction and the north gate.
Easy cut: On a hot day, walk the 100-yard boardwalk and leave the hill out.
How it scored
Route fit
4.9 out of 5
Payoff
4.5 out of 5
Heat load
3.8 out of 5
Current access
4.8 out of 5
Key facts
Day
3
Distance
0.75-mile loop
Trailhead
Campground site 18
Access
First 100 yards are wheelchair accessible
Best use
Early birding and wetland views
Pros
Boardwalk crosses a spring-fed wetland
Short hill gives river and mountain views
Good bird stop with little route drift
Cons
Only the first 100 yards are wheelchair accessible
Big Bend National Park★4.7(Editorial route score)★Price: Included with $30 vehicle pass
End Day 3 here, eight miles north of Panther Junction, then keep driving to Marathon.
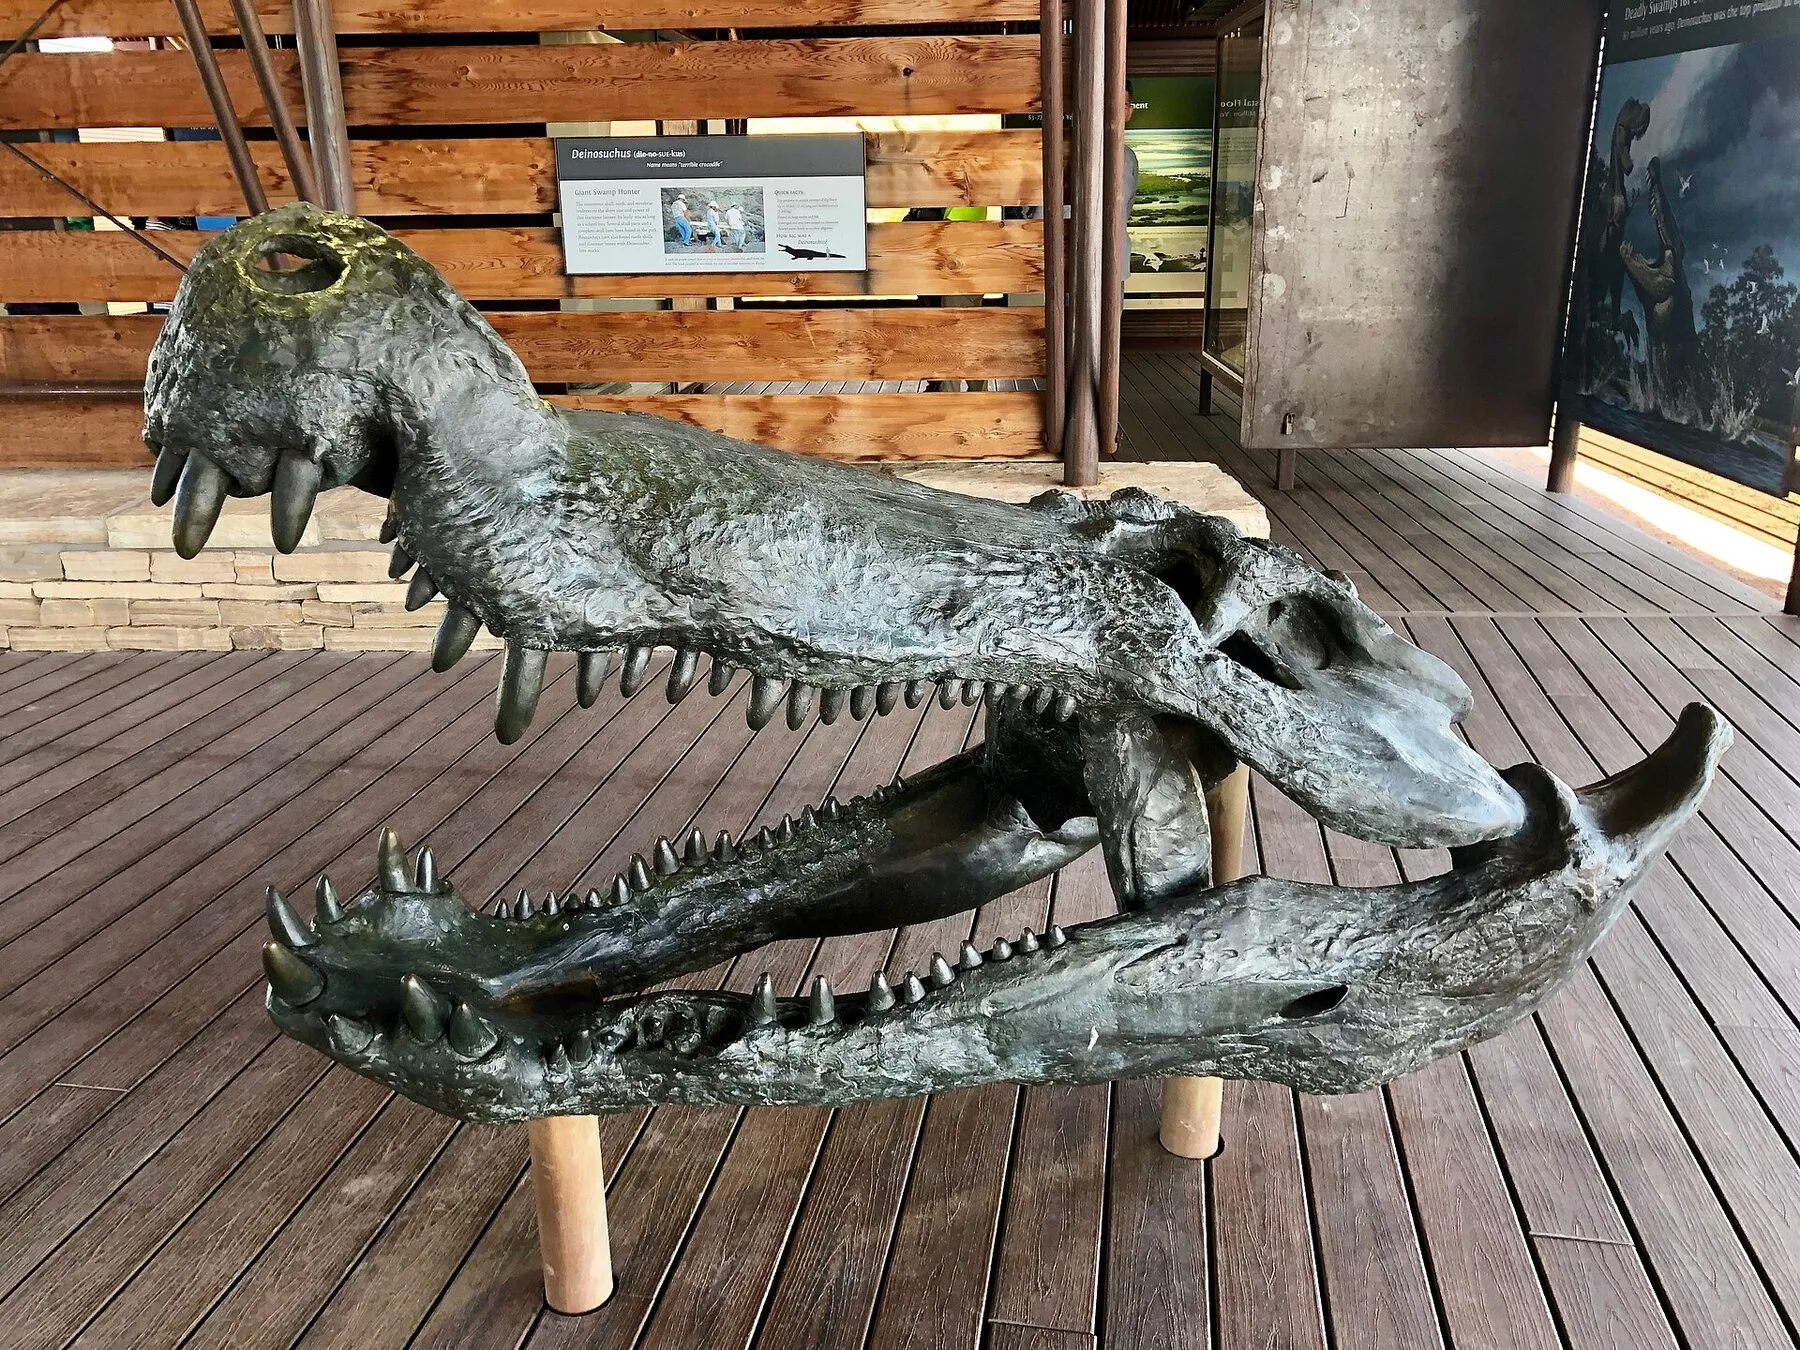
The shaded, accessible exhibit traces 130 million years of life recorded in Big Bend's rocks. Jonathan Cutrer / Wikimedia Commons (CC BY 2.0)
Finish Day 3 on the north exit road. The exhibit sits 8 miles north of Panther Junction and stays open from dawn to dusk. Shaded rooms cover 130 million years of life in this part of Texas. A short path also points out the rock beds around the site.
Kids get fossil casts and a small play area. Adults get shade, a vault toilet, and one last clear stop before the long road to Marathon. The site does not have drinking water, so fill at Panther Junction first.
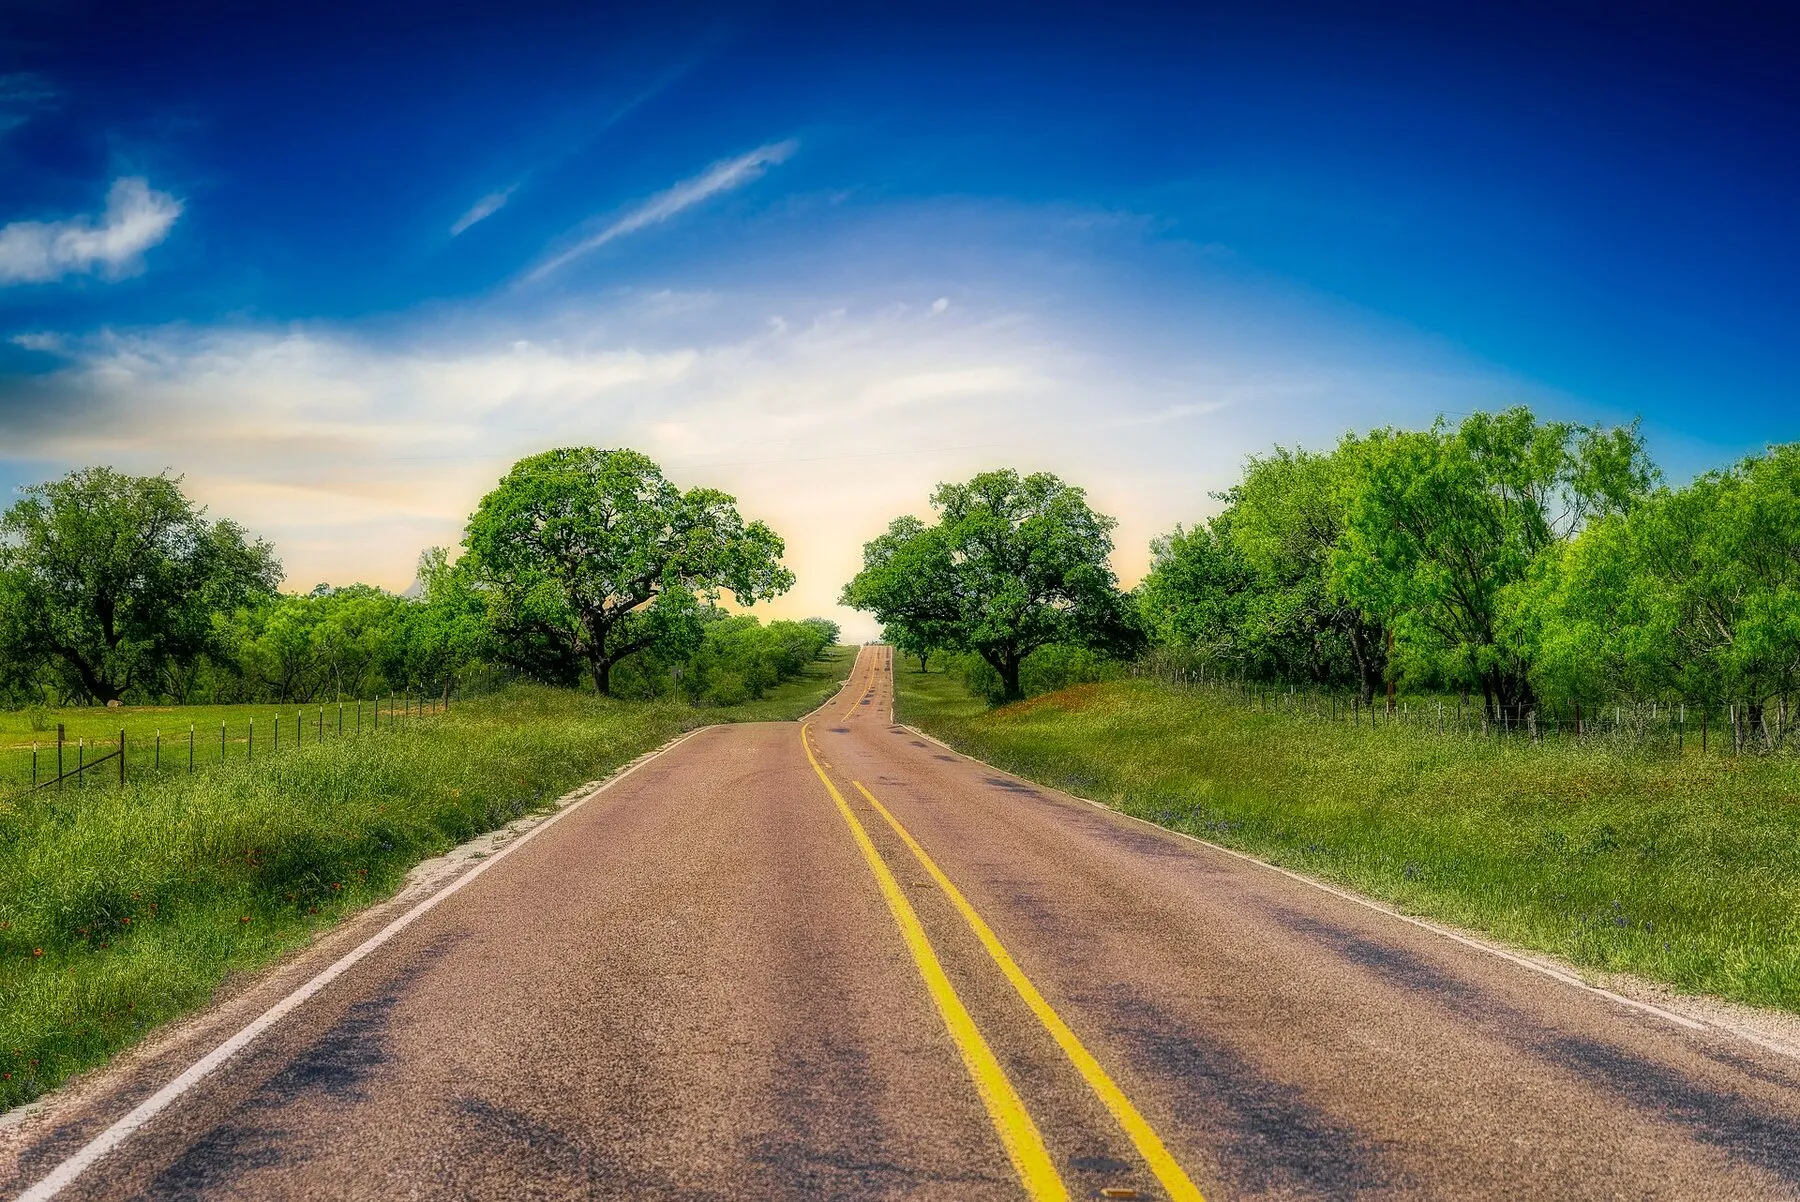
Large rigs need care here. The park does not advise the lot for RVs or trailers. If your rig is long, ask a ranger where to turn. Everyone else can spend 45 minutes, then keep north on US 385 without driving back into the park.
The short path outside adds a wide rock view, but there is no water at the site. Walk it only if daylight and heat allow. The drive from here to Marathon is still long, so leave before dusk and watch for deer near the road.
Best exit stop: Use the shaded rooms, then keep north toward Marathon.
Three full days are the best short plan for Big Bend. One day can cover one park zone, but the roads are too long for the west side, mountains, and river corridor together. Add a fourth day for a river trip, a long South Rim hike, or more recovery time between zones.
What are the top 5 things to do in Big Bend National Park?
The top five are a Chisos hike, Ross Maxwell Scenic Drive and Santa Elena Canyon, a Rio Grande canyon walk, the Hot Springs Historic District, and the Fossil Discovery Exhibit. Current road, creek, river, and heat alerts can change the order, so check conditions before leaving a visitor center.
What is the best month to go to Big Bend?
November is a strong month for mild days and full park access. February and early March also work well, though spring break brings full lots and rooms. From May through August, low desert hikes can be unsafe after 10a. Plan short dawn walks and spend the hot hours in the Chisos Mountains.
Do you need a passport to visit Big Bend National Park?
No passport is needed for Big Bend National Park. You need a valid passport book or passport card only if you cross into Boquillas, Mexico. The port is now open Friday through Monday from 9a to 4p. Check the same-day NPS alert because border hours can change.
Can you drive to Big Bend National Park without a 4WD vehicle?
Yes, a normal car can use the main paved roads in Big Bend. Dirt roads need more care. Old Maverick Road can turn rough or muddy after rain, and park staff now urge high clearance with 4WD. The short Hot Springs road is gravel, narrow, and closed to large rigs on one-way parts.
Sources & Methodology
We used the records, official pages and independent sources listed below to report and verify this guide. No source paid for placement.
Diego writes about road trips, state parks and the long empty stretches in between. His guides focus on routes, reservation rules, seasonal closures and practical access details.